Trending

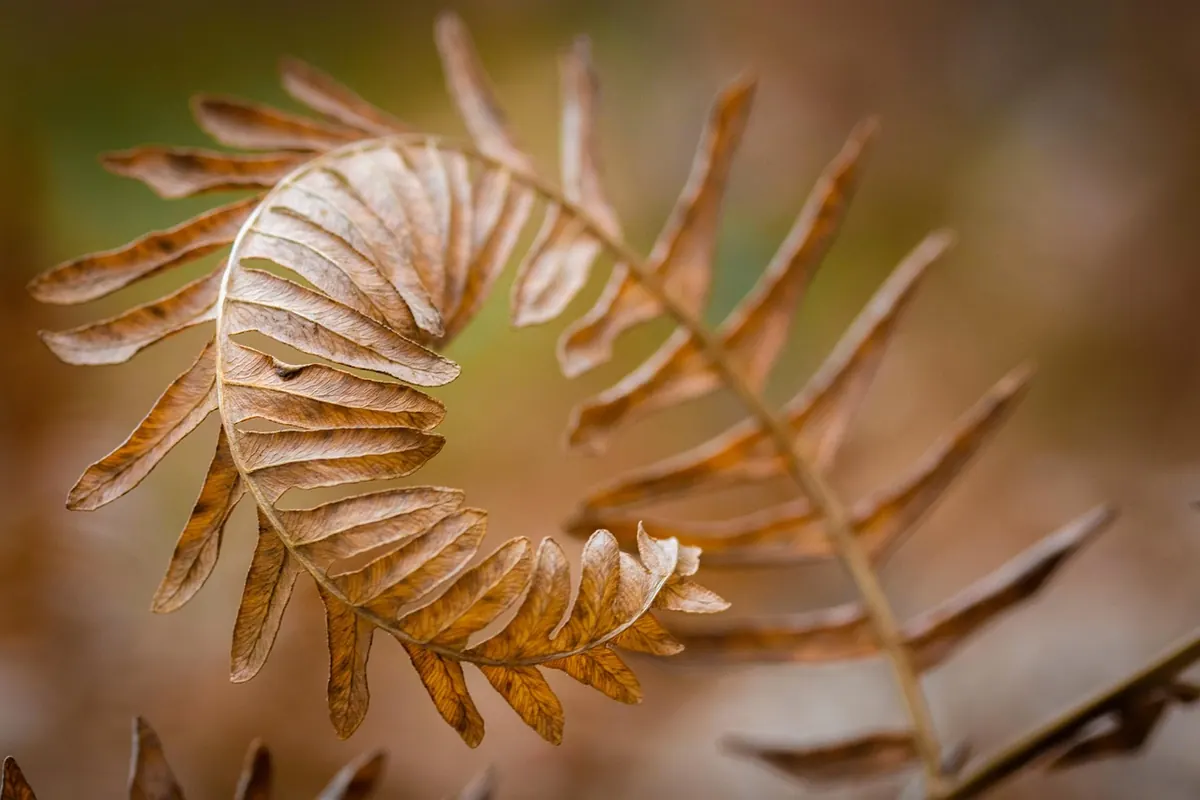
Few things deflate a plant collection faster than a fern that was glossy in spring and is now wearing a fringe of crisp brown leaflets. The encouraging part is that brown fronds are rarely a mystery. Ferns are unusually honest plants: they show you what is wrong within days, and most of them bounce back once you correct the cause. Almost every browned fern on a British windowsill traces back to one of the seven mistakes below.
Ferns are understorey plants. In the wild most grow in dappled shade, and their fronds are built for filtered light rather than blazing afternoon sun. A south- or west-facing windowsill in summer can scorch a fern in a single hot day.
Look for brown, papery patches on the side of the plant facing the glass, or fronds that have bleached to a pale, washed-out green before crisping. Move the pot a metre or two back from the window, hang a sheer curtain, or shift it to an east- or north-facing spot. Boston ferns cope with a bright room; maidenhairs prefer something gentler still.
Central heating is the most common reason ferns brown off indoors between October and March. The damage looks distinctive: crisp brown edges and tips, often with the rest of the frond still green, creeping inwards over a week or two.
Misting helps for about ten minutes, then the water evaporates and you are back where you started. Better options:
One caution: with bird's nest ferns, don't spray into the centre rosette. Water trapped in the crown can rot it and leave brown patches on the leaves.
Underwatering gives you fronds that curl, feel dry and brown from the tips backwards, with compost shrinking away from the sides of the pot. Overwatering gives you yellowing lower fronds, brown-black mushy stalks and a sour smell from the compost.
Ignore the weekly schedule and check instead. Push a finger 2cm into the compost; water when it feels barely moist, not bone dry and not sodden. Use tepid water, soak until it runs from the drainage holes, then empty the saucer after ten minutes. A fern in a small pot in summer may want water twice a week; in a cool spare room in January, once a fortnight might be plenty.
Maidenhair ferns, and to a lesser extent some other delicate species, react to hard water with brown tips and a general sulk. If your kettle furs up quickly, your fern will notice too. Rainwater is ideal, filtered water the next best thing. Leaving tap water to stand overnight warms it and lets chlorine escape, but it does not remove the calcium that causes the damage.
Temperature matters as well. Water straight from a cold tap in winter can shock roots, so let it reach room temperature first.
Ferns are light feeders, and it is easy to love them into trouble. Too much fertiliser burns fine roots, and the first sign is brown tips and edges on otherwise healthy fronds, sometimes with a white crust on the compost surface or around the rim of the pot.
Feed only while the plant is actively growing, roughly March to September, at half the strength recommended on the bottle, every two to four weeks. Stop entirely in winter. If you suspect a build-up, flush the compost with plenty of tepid water and let it drain thoroughly.
A fern sitting between a winter window and a warm room lives on a thermal rollercoaster. Cold glass on one side and radiator heat on the other cause brown patches, often concentrated on the side nearest the glass, along with stalled growth. Tropical ferns generally prefer a steady 15–21°C and dislike dropping below about 10°C. Move pots inwards during cold snaps, and keep them clear of doors and open windows.
When brown fronds appear, the instinct is to cut everything back hard. Don't. A partly green frond is still feeding the rhizome, so trim only the dead tissue and leave the rest. Remove a frond completely once it is brown to the base, cutting as close to the crown as you can without nicking healthy growth.
Repotting at the wrong moment does its own damage. Ferns resent disturbance, so repot in spring, only when roots are circling the drainage holes, and into a pot just 2–3cm wider. Keep the crown — the point where fronds emerge — level with or slightly above the compost surface. Burying it is a reliable way to produce rot and browning.
Once the causes above are sorted, keeping a fern healthy is mostly about small, regular checks rather than grand gestures.
Brown leaves are feedback, not failure. Correct the conditions, give the plant a few weeks, and fresh croziers will unfurl from the crown — usually faster than you expect.
Photo: TomDansken / Pixabay