Trending

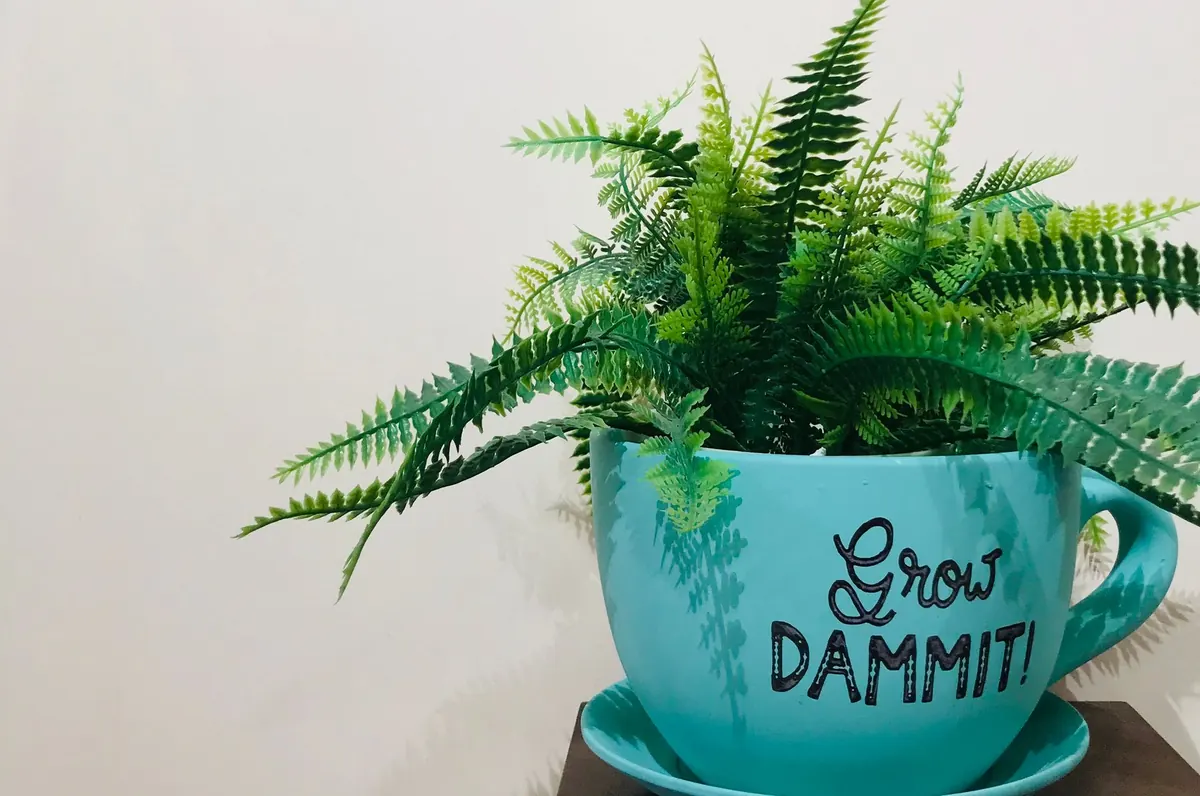
Ferns are quiet, generous plants in containers. They need no staking, no deadheading and very little fuss, and a well-chosen one will bulk up steadily in the same pot for years. What they do need is a root run that stays reliably damp without turning stagnant — and that comes down to two decisions you make in the first ten minutes. How the pot drains, and what you fill it with. Get those right and everything afterwards, from watering to repotting, becomes far easier to judge.
Start with the pot. A fern container needs at least one generous drainage hole, and it needs to stay clear. If you have bought a handsome glazed pot with no hole, treat it as a cover pot and stand the planted pot inside it, emptying any water that collects. Otherwise you are creating a sump.
The old advice about filling the base with a deep layer of crocks is best set aside. A thick layer of broken pot or gravel does not improve drainage; it simply raises the saturated zone closer to the roots. For most pots, a single piece of broken pot, a scrap of mesh or a couple of large crocks laid loosely over the hole is enough to stop compost washing out. Then fill with compost and plant.
The other half of drainage happens outside the pot. Stand containers on feet or bricks so the hole is not pressed against a saucer or paving, and tip away standing water after heavy rain. If a saucer is unavoidable indoors, use one filled with gravel so the pot sits above the water line rather than in it.
Ferns in the wild grow in leaf litter, on mossy banks and in rock crevices — conditions that are damp, airy and rich in organic matter. Compost for pots should mimic that. A peat-free multipurpose on its own is usually too dense and holds water unevenly, so open it up.
A reliable mix is roughly two parts peat-free multipurpose or loam-based compost (John Innes No. 2 works well), one part leafmould or fine bark, and one part perlite or horticultural grit. Larger ferns, and anything that will spend several years in the same pot, do better in a loam-based mix with added bark. Smaller, delicate ferns such as maidenhair prefer something lighter still.
Water when the surface of the compost feels just damp rather than wet. Little and often suits ferns better than a weekly drench, and rainwater is worth collecting for maidenhair, Boston ferns and other lime-sensitive types. Tap water is fine for most others.
Humidity matters as much as moisture at the roots. Grouping pots together, standing them on a gravel tray, or growing ferns in a bathroom or kitchen with decent light all help. Misting is a pleasant ritual but the effect wears off quickly — a tray of damp gravel does more.
Feed lightly. A half-strength liquid feed every two to three weeks through spring and summer is plenty; if you prefer slow-release granules, use half the recommended rate. Overfed ferns produce soft, dark fronds that flop and scorch at the edges.
Fast growers such as Boston fern and Japanese painted fern may need repotting every year or two. Slow, clump-forming types like soft shield fern can stay put for three or four years. The signals are roots pushing out of the drainage hole, water running straight through, or a crown that has risen above the compost.
Repot in spring as the new croziers begin to unfurl. Move up one pot size only, tease out the outer roots and trim away any that are dead or mushy. Clump-forming ferns that have filled their pot can be divided at the same time: cut through the crown with a clean knife and pot each piece separately.
Most hardy ferns in pots cope with winter outdoors, but their roots are more exposed than those in the ground. Move pots to a sheltered spot against a wall, wrap terracotta in bubble wrap or hessian, and cut back on watering — damp cold is far more damaging than dry cold. Tender ferns, including Boston fern and maidenhair, are better brought indoors before the first frost.
Check the compost with your finger twice a week in summer, water with rainwater when it is barely damp, and tip away anything in the saucer. Feed half-strength from March to September. Top-dress with fresh compost in spring if the fern is not being repotted. Move it once the light changes, and repot only when the roots ask you to.
Do that, and a fern in a pot will reward you with the thing that makes them worth growing: unfurling croziers in spring, one after another, for years.
Photo: Alpz / Pexels