Trending

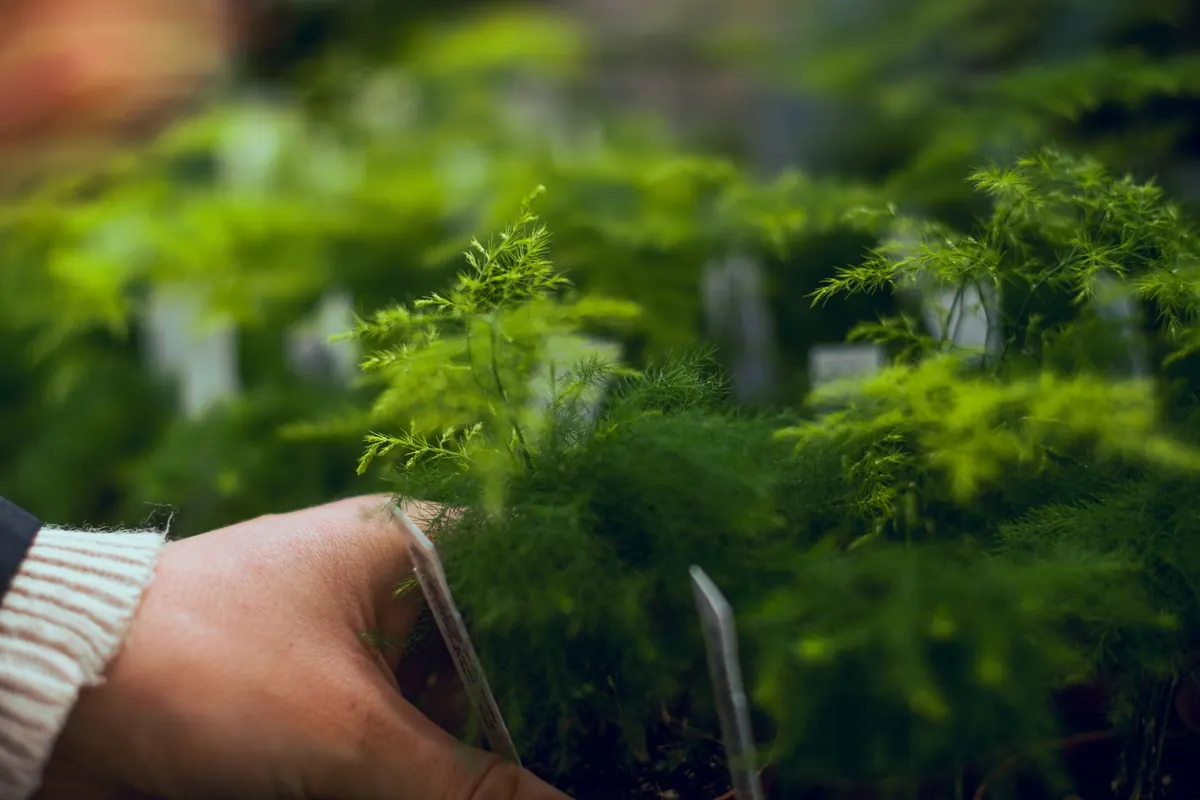
Ferns have a reputation for being easy, and mostly they deserve it. Give them shade, roots that stay damp and shelter from drying wind, and they will settle in and quietly get on with the job for years. Put one in the wrong spot and you get the same result as with any other plant: scorched fronds, a shrunken crown and a slow decline.
The difference between those two outcomes is usually decided on planting day. Get the site, the depth and the first few weeks of watering right, and the fern does the rest.
Almost every garden fern comes from woodland, stream banks or the damp crevices of an old wall. Those places have three things in common: dappled light, humus-rich soil and shelter. In a UK garden, that translates to:
Morning sun is fine; hot afternoon sun will cook thin fronds in an hour. Wind matters too. Evergreen species hold their fronds all winter and rock about in gusts, which loosens the crown in the ground, so a little shelter from a fence or shrub makes a real difference.
What you are trying to avoid is a site that is waterlogged in winter and bone dry in summer. Few ferns enjoy either extreme, and the combination kills more of them than cold ever does.
Ferns root shallowly. Most of their feeding roots sit in the top 20cm, so there is no point digging a deep pit and burying the crown at the bottom of it. Work the top layer instead, over an area wider than the plant's eventual spread, forking it to a spade's depth and breaking up any compacted pan.
Then improve it according to what you have.
Fork in two or three buckets of garden compost or leafmould per square metre. If the site holds water in winter, plant on a low mound so the crown never sits in a puddle.
Leafmould is the best addition here. It holds moisture without souring the soil, and these soils burn through organic matter quickly, so plan on mulching every autumn.
A bucket of leafmould per square metre is plenty, plus a small handful of blood, fish and bone if growth nearby has been poor.
Early autumn, from September into October, is the best window: the soil is still warm, rain is more reliable, and roots establish before winter. Spring, from March to May, is nearly as good. Potted ferns can go in at any time of year provided the ground is not frozen or waterlogged, but midsummer planting means watering almost daily for weeks, so it is rarely worth it.
If you have divided a fern or bought one bare-rooted, get it into the ground the same day, wrapping the roots in damp newspaper if there is any delay.
As a starting point, allow each fern about two-thirds of its mature spread. A soft shield fern that will eventually reach 60cm across wants roughly 40cm between crowns. If you are planting a drift and want it to close over quickly, space them closer and lift every second or third plant in two or three years.
Ferns look best in odd-numbered groups rather than as a row of single specimens. Repeat one plant through a border to tie it together — hart's tongue fern works well for this with its upright, glossy straps. Put shuttlecock ferns and royal ferns where they have room to make a statement, and keep taller growers towards the back.
New ferns need more water than established ones, and rain rarely delivers enough, especially under trees. Water deeply once or twice a week through the first growing season, and keep an eye on them through the second summer too. A slow soak is far better than a daily sprinkle, because it drives moisture down to where the roots actually are.
Go easy on feeding. Rich soil produces soft, floppy fronds that snap in wind, so a yearly mulch is usually all that is needed. In late winter, before the croziers unfurl, cut away tatty or dead fronds from deciduous species; with evergreens, remove only the brown ones. New growth in spring is a magnet for slugs, so check the crowns on damp evenings.
If you remember nothing else, remember four things: choose a shaded, sheltered site; improve the top 20cm of soil rather than digging deep; plant with the crown exactly at soil level; and water properly for the first season. Get those right and your fern will still be there in ten years, larger and better than the day you put it in.
Photo: Chris G / Pexels